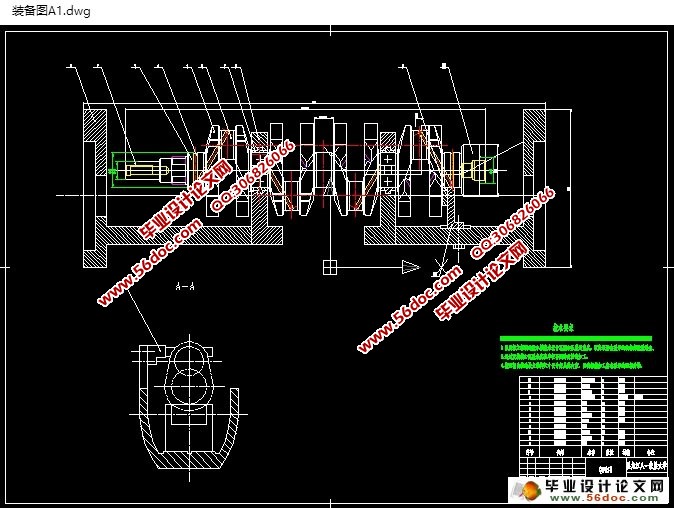
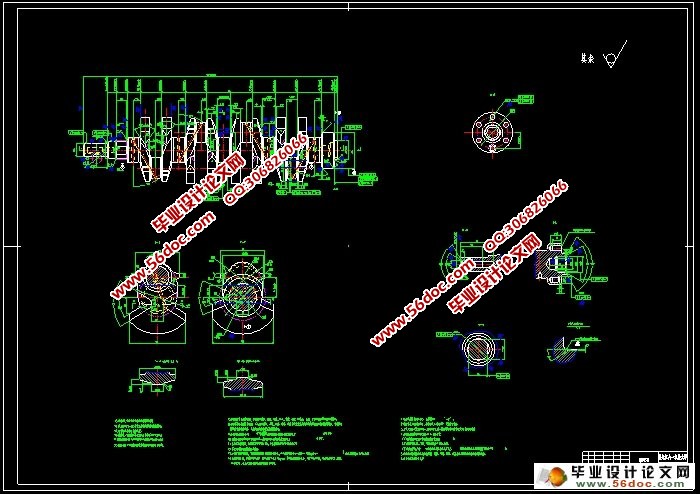
曲轴加工工艺及夹具设计(含CAD图,CAXA图,加工工序卡)

1.无需注册登录,支付后按照提示操作即可获取该资料.
2.资料以网页介绍的为准,下载后不会有水印.资料仅供学习参考之用.
密 惠 保
曲轴加工工艺及夹具设计(含CAD图,CAXA图,加工工序卡)(任务书,开题报告,中期检查表,论文说明书16000字,CAD图纸2张,CAXA图纸2张,加工工序卡)
摘 要
本设计主要围绕发动机曲轴的工艺规程和专用夹具设计进行研究,其内容包括了解曲轴结构,确定曲轴的生产类型,相关的技术要求。在此基础上,进行基准的选择,制定了表面加工方法,划分加工阶段,根据生产类型确定工序的集中和分散,合理地安排工序,编排合适的工艺路线;进行详细的大量计算,包括:加工余量、工序尺寸和公差的确定、切削用量的计算及时间定额的计算。从而制定出一套合理的机械加工工艺卡片和机械加工工序卡片。
总之,曲轴加工工艺的安排以及专用夹具的设计是一项非常复杂的高难度工作。它是一种需大批量生产的零件。且技术要求比较高,为了确保产品的质量和水平,设计工作按照科学的程序进行,分清主次,合理取舍。
关键词:夹具;曲轴;工艺
Abstract
The design was studied that was focused on transmission with the shift fork of the protocols and proprietary drilling fixture design, whose contents were included that the use of blades, the blades type of production and the relevant technical requirements. On this basis, the rough was chosen, and the size of the rough was determined, and the mechanical allowances were determined. A rough map was drawn. After carefully detailed analysis of the parts map, the benchmark was chosen, the development of surface processing methods was determined, and the demarcation of the processing stages was divided. According to the production process the type of centralization and decentralization was determined, the process was reasonably arranged, and the order and orchestrates a suitable process line were set up. Then some detail was calculated, such as allowance, processes size and the determination of tolerance. The amount of calculation and the calculation of the fixed time was cut. Thus a set of reasonable card processing machinery and mechanical processes cards were drawn up. [资料来源:http://www.THINK58.com]
The second part of the design was the focus of this issue which was difficult, who was mainly centered on proprietary drilling fixture design, Z525-use vertical drilling, drilling screw hole design process by which a drilling fixture. Firstly fixture was designed to clear the major tasks identified by positioning components, guidance devices, clamping body fixture structure, access to the relevant national standards, painting fixture assembly.
The study of the subject transmission blades was used in the transmission gearbox shift agencies. Through the design of the transmission plectrum shift gearbox bodies changed stalls, thus it changed the speed of automobile.
This paper transmission plectrum design of technical rules, transmission truly achieved the change stalls and shift function, against drilling fixture design, realization of the drilling screw hole of this procedure.
In short, the design of transmission plectrum was a complex task. It was the typical products in mass production. To ensure the quality of products and the level of design the work must be produced in accordance with the scientific procedure, prioritize, reasonable choice
[资料来源:http://think58.com]
Keywords: Plectrum;machining; technical rules;manufacturing technology;fixture
零件的工艺分析
Ф25mm的圆柱内表面,加工时要保证Ф25 + 00.023的0.023公差要求,以及表面粗糙度Ra1.6,表面要求较高。1.2.零件的工艺要求
连杆的支撑底板底面,粗糙度要求Ra3.2,同时保证连杆的高度30mm。
上端面40×30mm,粗糙度要求Ra3.2,同时保证与Ф25mm的圆柱轴线的距离90mm;下端侧面保证尺寸17mm,粗糙度要求Ra6.3;离Ф25mm的圆柱轴线45mm的侧面粗糙度要求Ra12.5。
上端面2×M6,保证尺寸10mm、20mm,沉头锥角120°,粗糙度要求Ra6.3;M8的螺纹孔,锪Ф14×3mm的圆柱孔,粗糙度Ra3.2;钻下端Ф12.7 + 00.1的锥孔,保证公差要求,以及中心线与Ф25mm的圆柱轴线的距离60 mm粗糙度要求Ra6.3。 根据各加工方法的经济精度及一般机床所能达到的位置精度,该零件没有很难加工的表面,上述各表面的技术要求采用常规加工工艺均可以保证。
依设计题目知:Q=5000台/年,n=1件/台,结合生产实际,备产率α和废品率β分别取为10%和1%。带入公式得该零件的生产纲领N= =5555件/年零件是机床的杠杆,质量为0.85kg,查表2-1可知其属轻型零件,生产类型为大批生产。
[资料来源:http://www.THINK58.com]


目录
摘 要 II
ABSTRACT III
目录 IV
前言 - 1 -
1.零件的工艺分析 - 2 -
2.选择毛坯,确定毛坯尺寸,设计毛坯图 - 3 -
3.选择加工方法,制定工艺路线 - 4 -
[来源:http://think58.com]
3.1制定工艺路线 - 4 -
4. 轴加工工序设计 - 8 -
4.1.洗两端面 - 8 -
4.2. 钻质量中心孔 - 9 -
4.3.车削与主轴颈同轴的所有轴颈 - 10 -
4.3.1.切削用量 - 10 -
4.4. 车削全部连杆轴颈 - 11 -
4.4.1.切削用量 - 11 -
4.5.粗磨所有主轴颈、连杆颈、法兰与曲轴轴头 - 12 -
4.6.精磨所有主轴颈、连杆颈、法兰与曲轴轴头 - 14 -
5.孔加工工序设计 - 16 -
5.1粗铣M6孔端面 - 16 -
5.1.1切削用量 - 16 -
5.1.2.基本时间 - 17 -
5.2.精铣M6孔端面 - 17 -
5.2.1切削用量 - 17 -
5.2.2.基本时间 - 18 -
5.3.钻2-M6底孔 - 18 -
5.3.1.切削用量 - 18 -
5.4确定攻2-M6螺纹的切削用量 - 19 -
5.4.1.切削用量 - 19 -
5.4.2.基本时间 - 19 -
5.5加工Φ12.7×4.4底孔 - 20 -
5.5.1.钻孔 - 20 -
5.6扩Φ12.7MM盲孔 - 21 -
5.6.1.盲孔 - 21 -
5.6.2.基本时间 - 21 -
6.夹具设计 - 23 -
总结 - 24 -
参考文献 - 26 -
致谢 - 27 -
[资料来源:http://www.THINK58.com]
